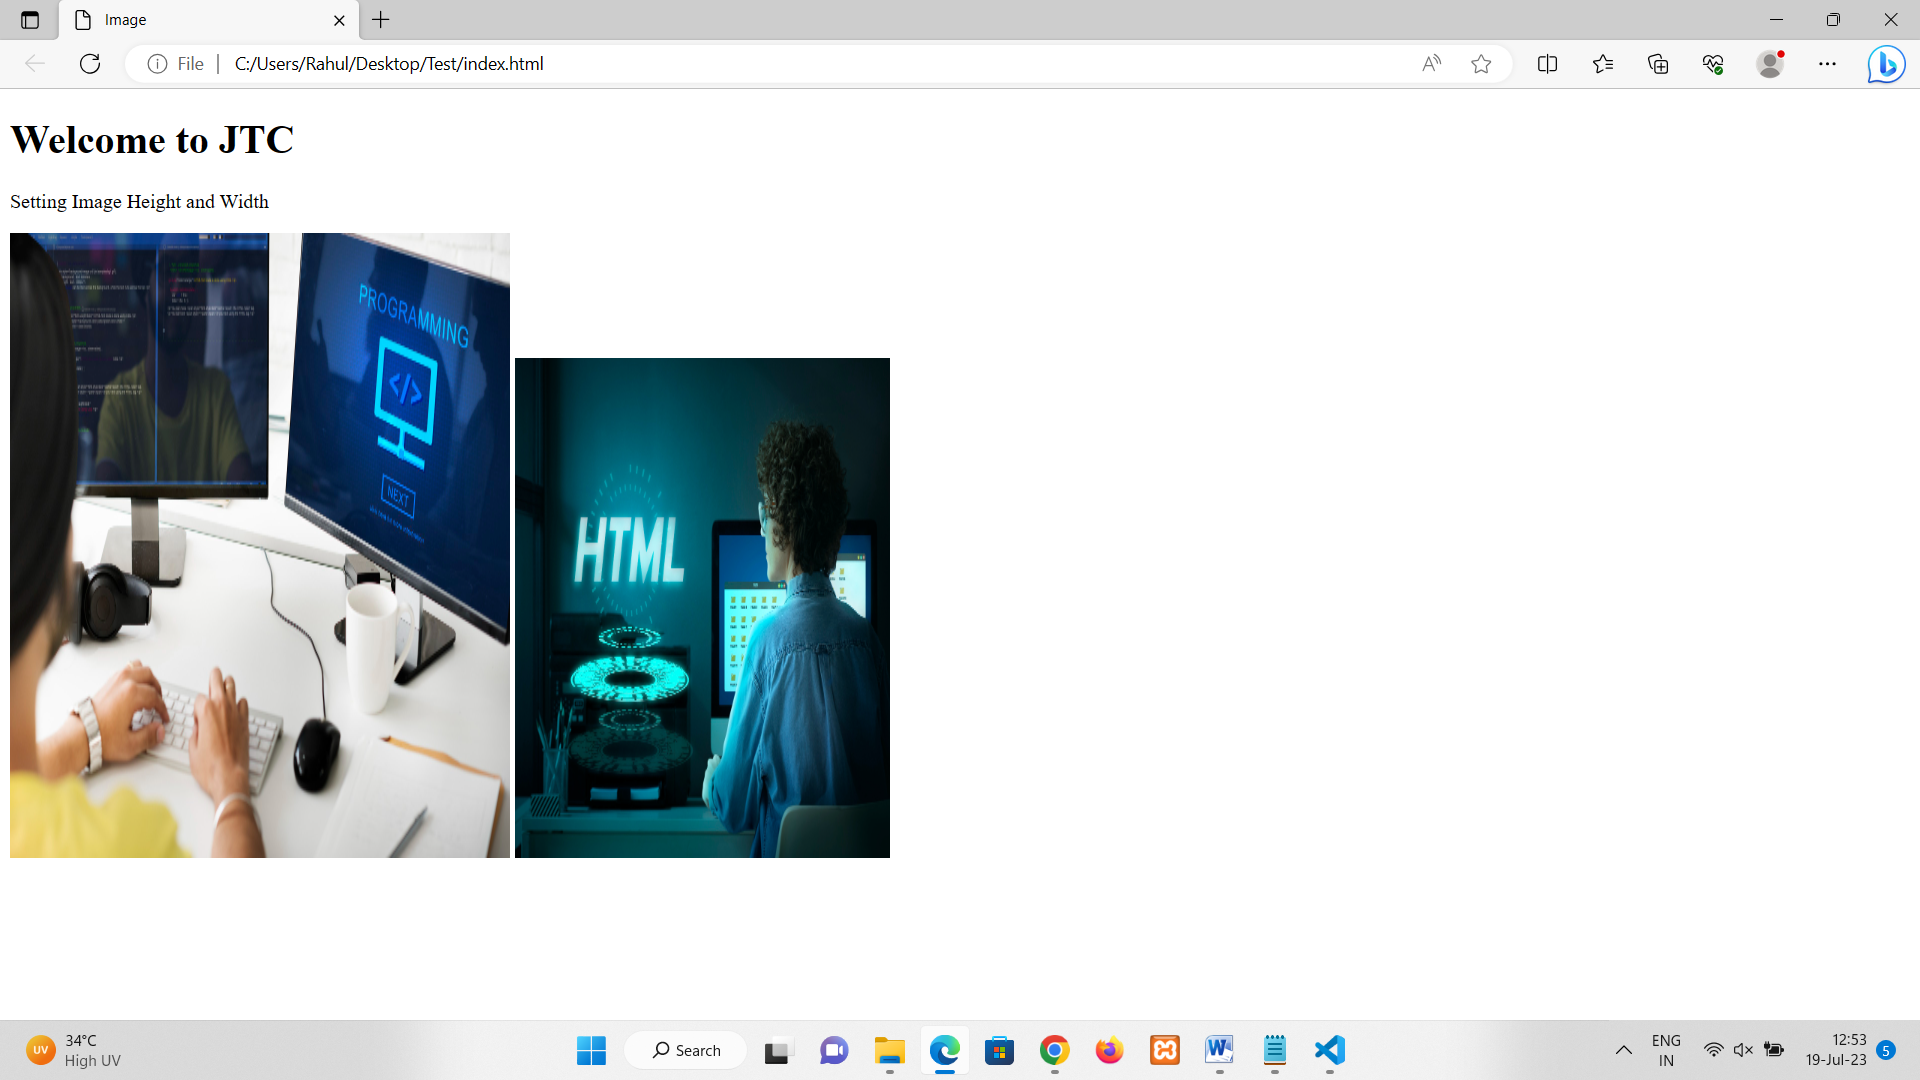
• You can set the height and width of the image using height and width attribute.
• You can also set the height and width of the image using style attribute.
• Later, When you will learn CSS you can also set the height and width of the image using CSS.
Note- While setting the height and width of the Image using the height and width attributes, you don’t have to write the pixels it automatically considers them in pixels.
Use image tag as a link
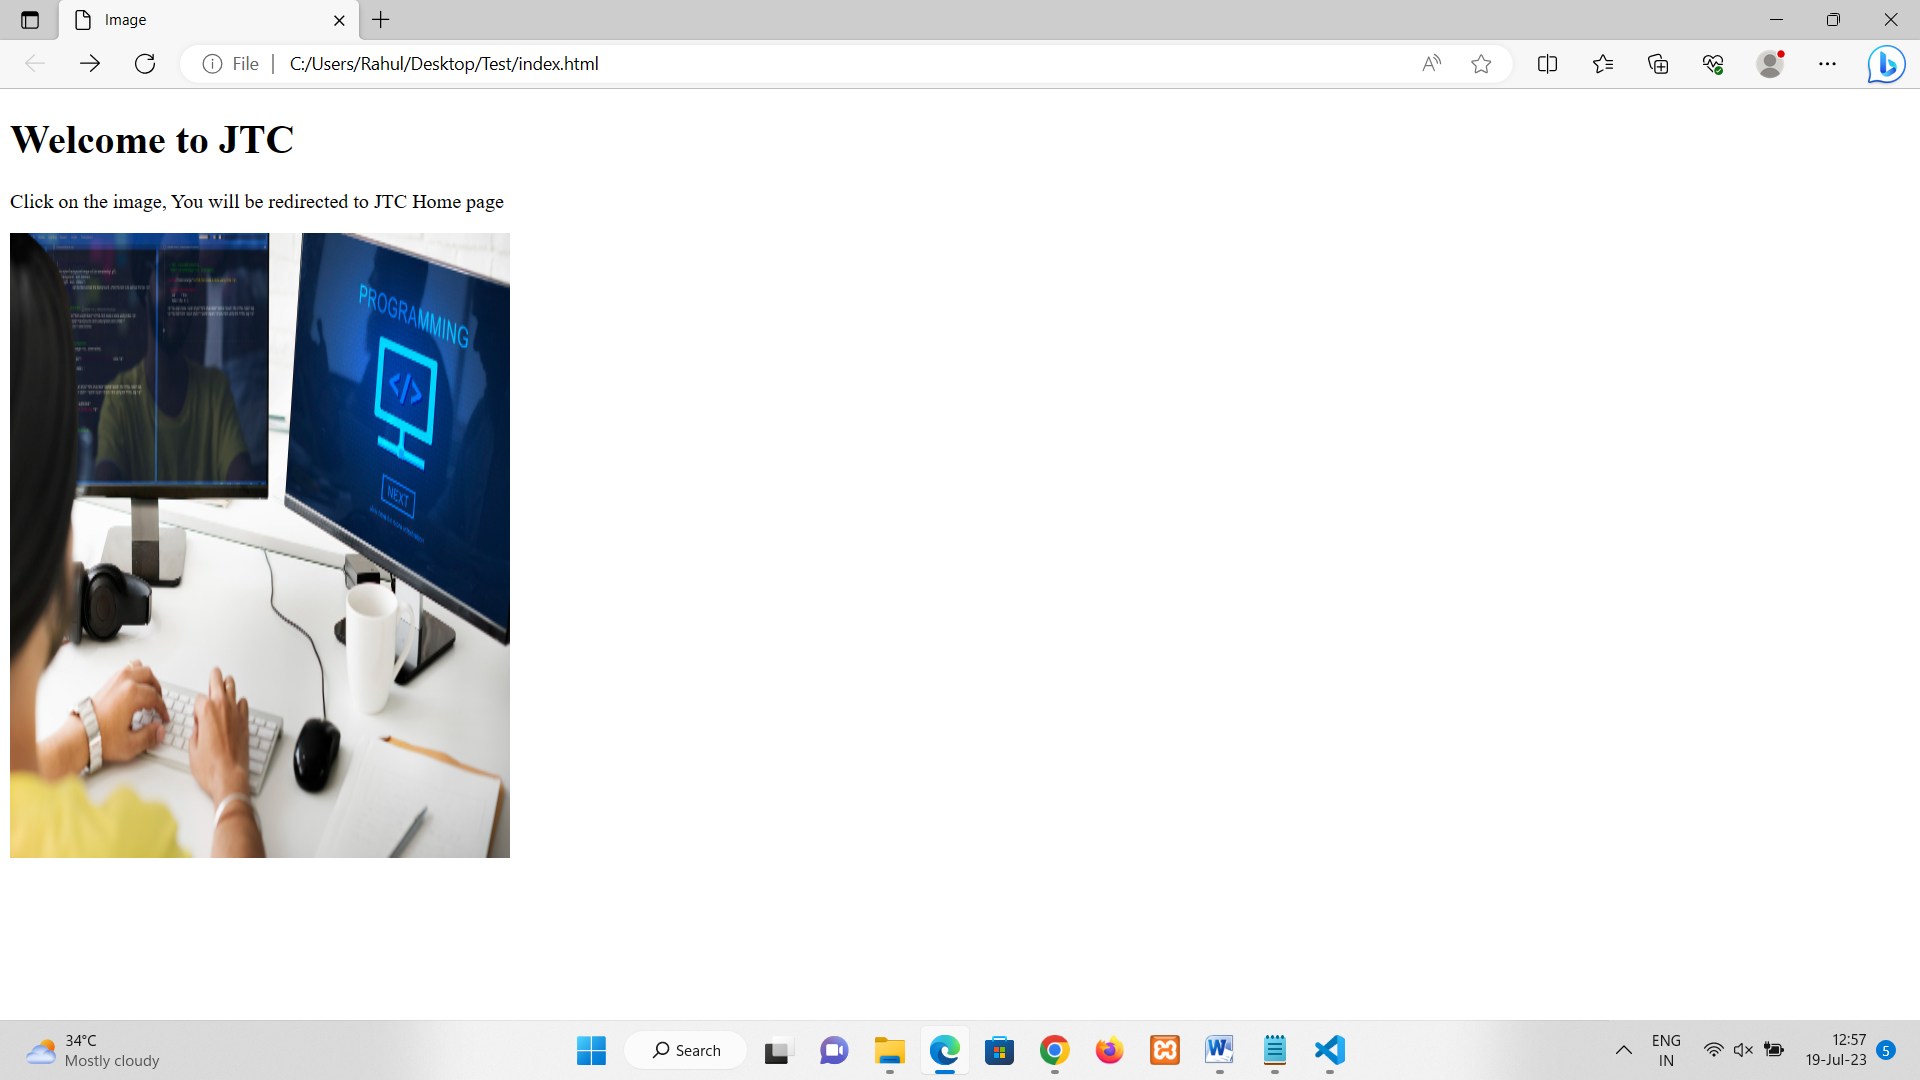
• To use an image as a link in HTML, you can combine the image tag <img> with the anchor tag <a>.
• Place the <img> tag within the opening and closing <a> tags, like <a href="target-url"><img src="image-url" alt="image-description"></a>.
• The href attribute in the <a> tag specifies the target URL that the image will link to.
• When a user clicks on the image, they will be redirected to the specified target URL.
• It's important to provide meaningful alternative text in the alt attribute of the <img> tag for accessibility purposes, even when using the image as a link.
<!DOCTYPE html>
<html>
<head>
    <title>Image</title>
</head>
<body>
    <h1>Welcome to JTC</h1>
    <p>Click on the image, You will be redirected to JTC Home page</p>
    <a href="https://www.jtcindia.org">
        <img src="Learn_HTML.jpg" alt="Learning Programming" height="500" width="400">
    </a>
</body>
</html>
Align the Image
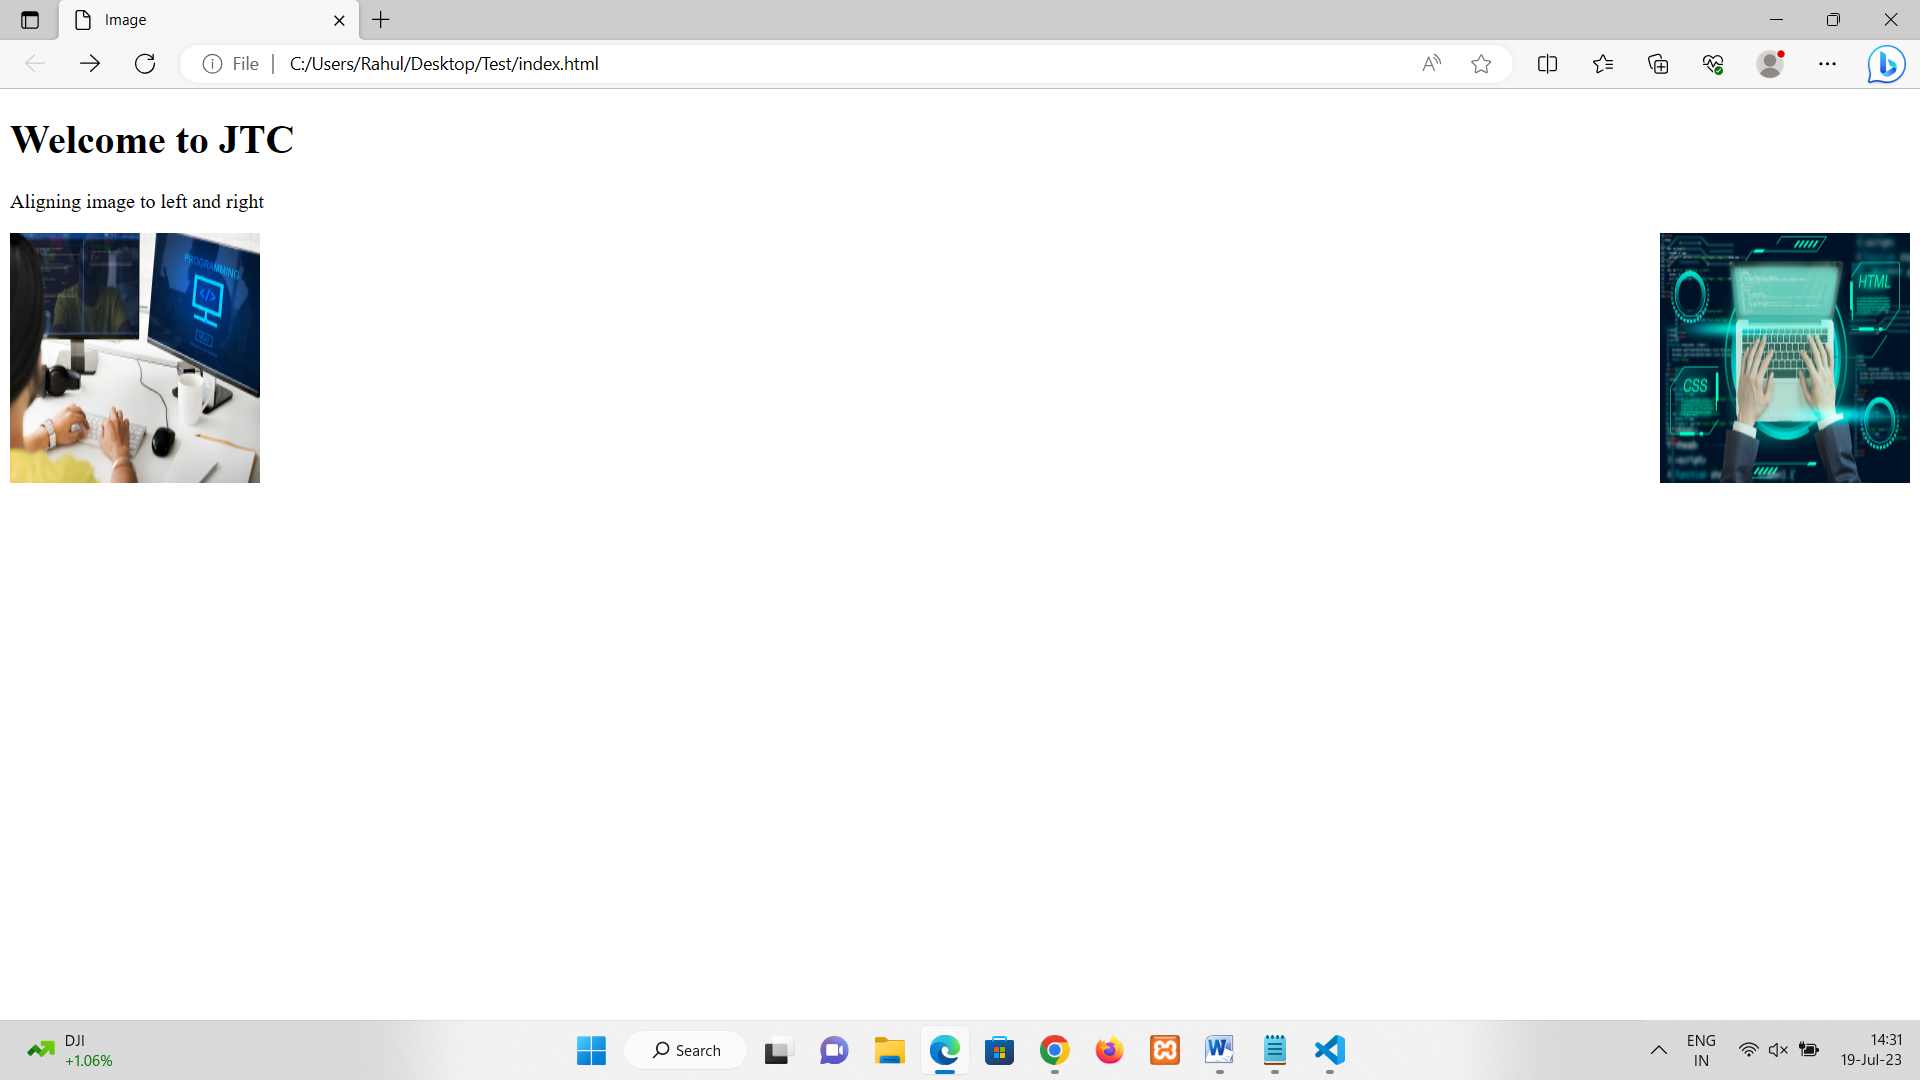
• To align an image in HTML, you can use the align attribute in the <img> tag.
• The align attribute allows you to specify the horizontal alignment of the image within its containing element.
• Common values for the align attribute are "left", "right", and "center".
• To align the image to the left, use align="left", to the right, use align="right", and for center alignment, use align="center".
• It's important to note that the align attribute is deprecated in HTML5, and it is recommended to use CSS for more precise alignment control.
<!DOCTYPE html>
<html>
<head>
    <title>Image</title>
</head>
<body>
    <h1>Welcome to JTC</h1>
    <p>Aligning image to left and right</p>
    <img src="Learn_HTML.jpg" alt="Learning Programming" height="200" width="200" align="left">
    <img src="programming.jpg" alt="Learning Programming" height="200" width="200" align="right">
</body>
</html>
Setting Background Image
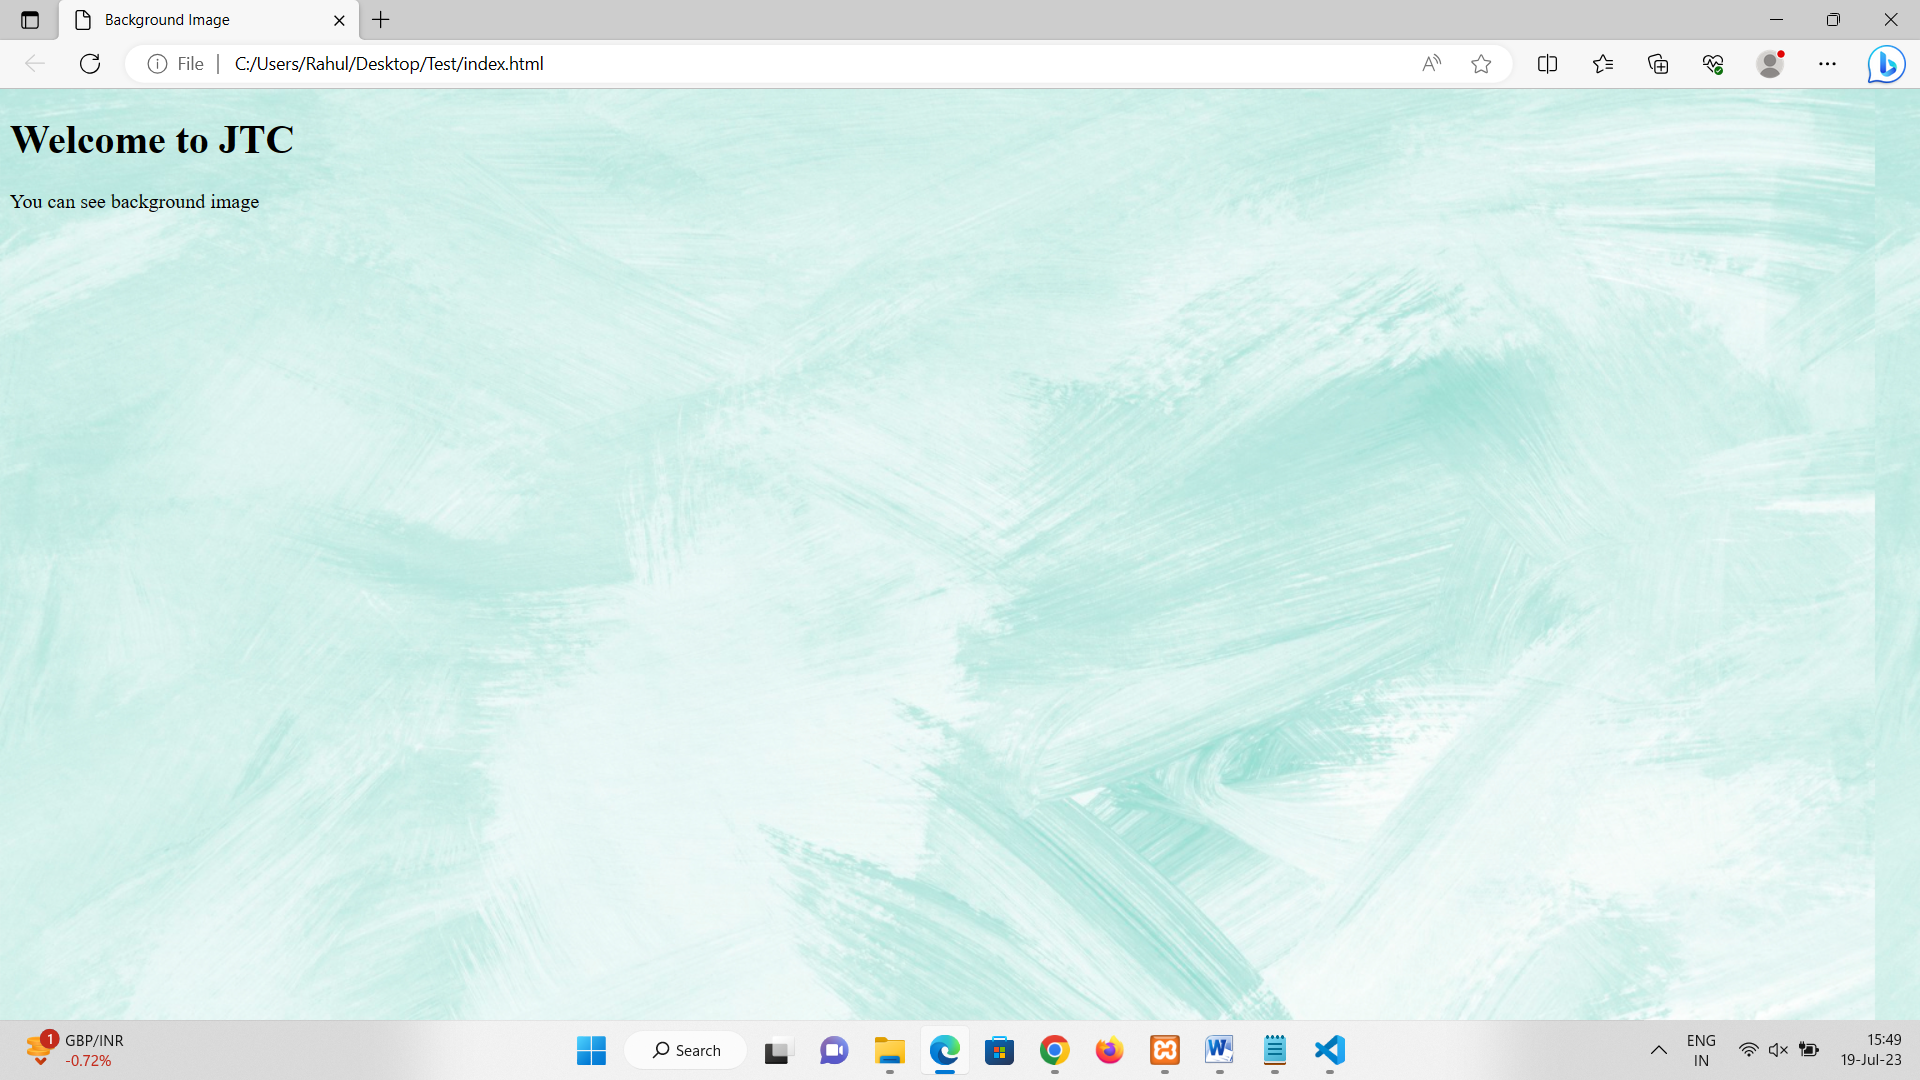
• To set a background image in HTML, you can use CSS (Cascading Style Sheets) properties.
• First, create a CSS rule that targets the desired element or elements where you want to set the background image.
• Use the background-image property to specify the URL or file path of the image, like background-image: url("image-url");.
• You can also adjust other background properties like background-repeat, background-size, and background-position to control how the image is displayed.
• Apply the CSS rule to the desired element or elements using the class or id attribute.
<!DOCTYPE html>
<html>
<head>
    <title>Background Image</title>
</head>
<body style="background-image: url(background.jpg)">
    <h1>Welcome to JTC</h1>
    <p>You can see background image</p>
</body>
</html>
We use cookies to enhance your user experience. By continuing using our site, you agree to our use of cookies.