CSS pseudo-elements are special keywords that allow you to create virtual elements in your HTML document for styling purposes. Unlike pseudo-classes, which target specific states of existing elements, pseudo-elements target specific parts of an element's content. Pseudo-elements are denoted by a double colon (::) followed by the pseudo-element name.
Syntax:-
selector:pseudo-element {
property: value;
}
Here are some commonly used CSS pseudo-elements:
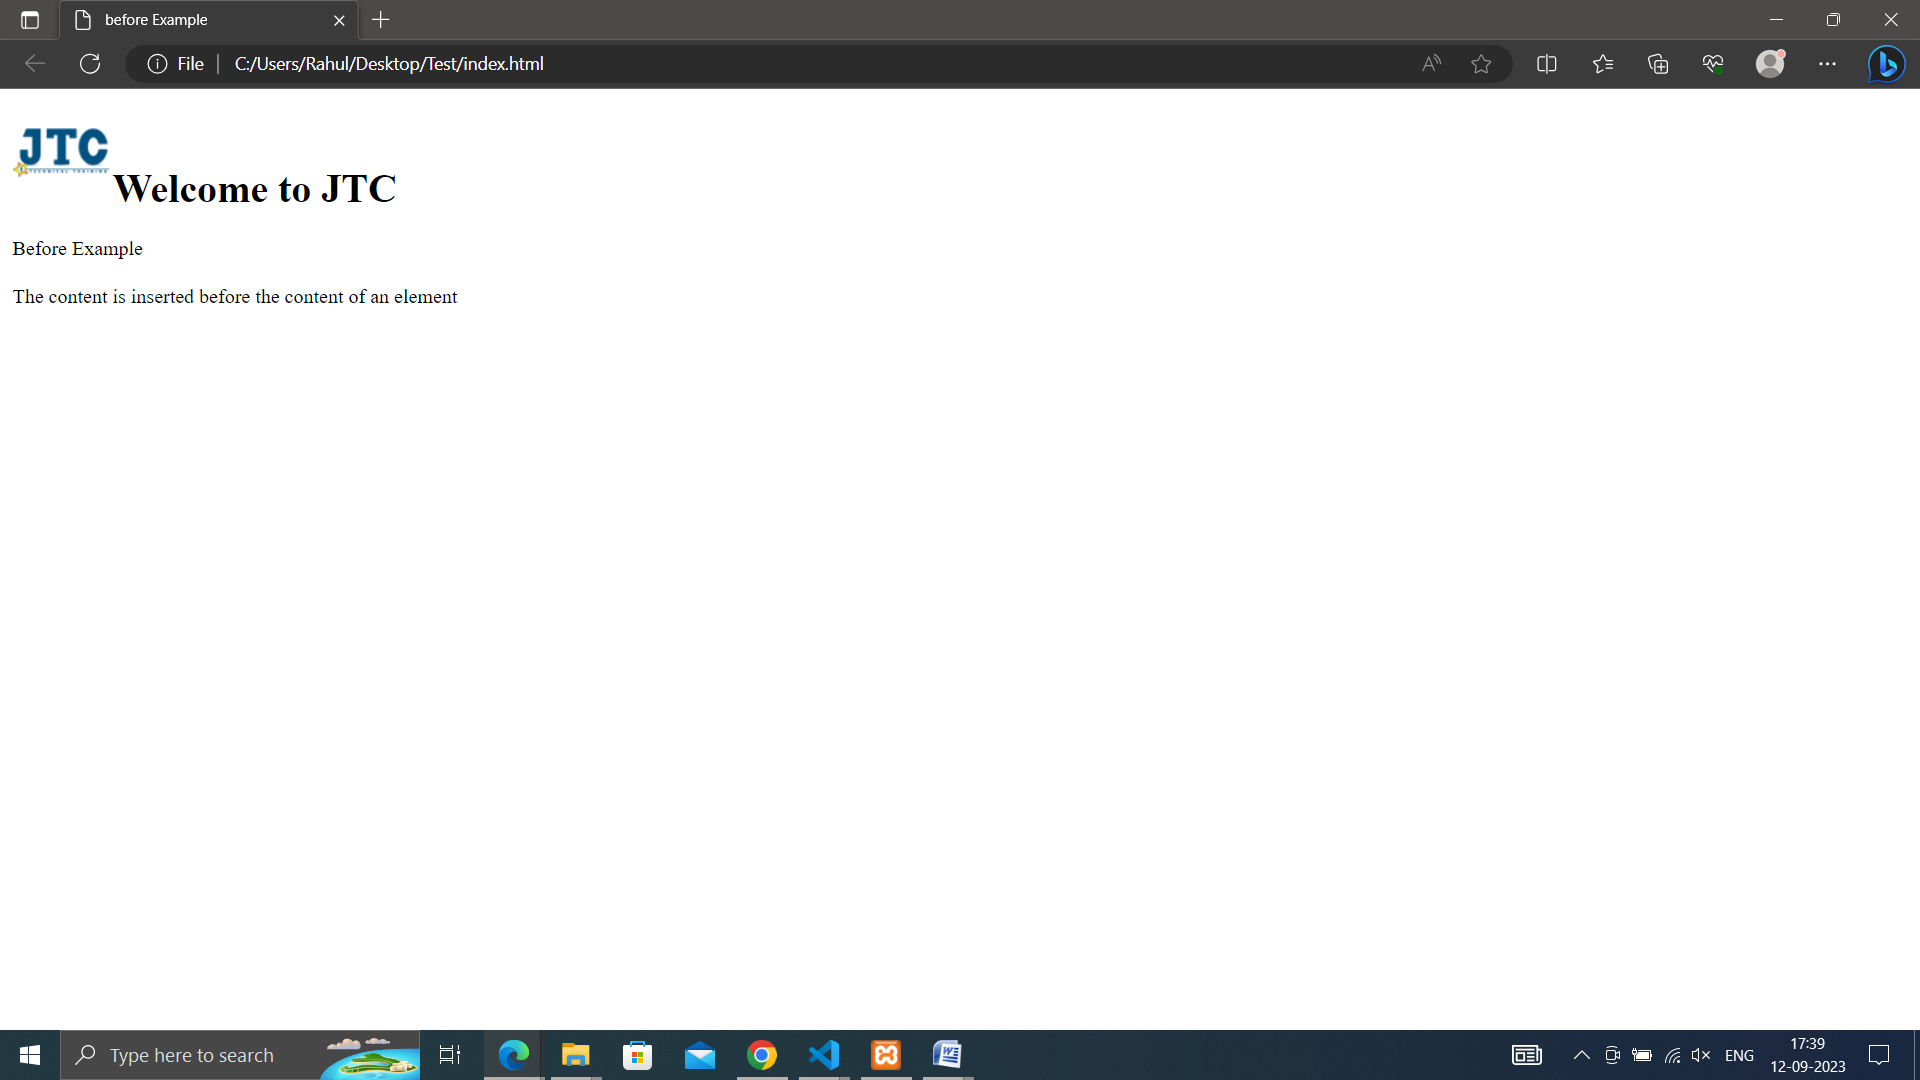
• ::before: Creates a pseudo-element before the content of an element. It's often used to add decorative elements or icons.
<!DOCTYPE html>
<html lang="en">
<head>
<meta charset="UTF-8">
<meta name="viewport"content="width=device-width, initial-scale=1.0">
<link rel="stylesheet"href="style.css">
<title>before Example</title>
</head>
<body>
<h1>Welcome to JTC</h1>
<p>Before Example</p>
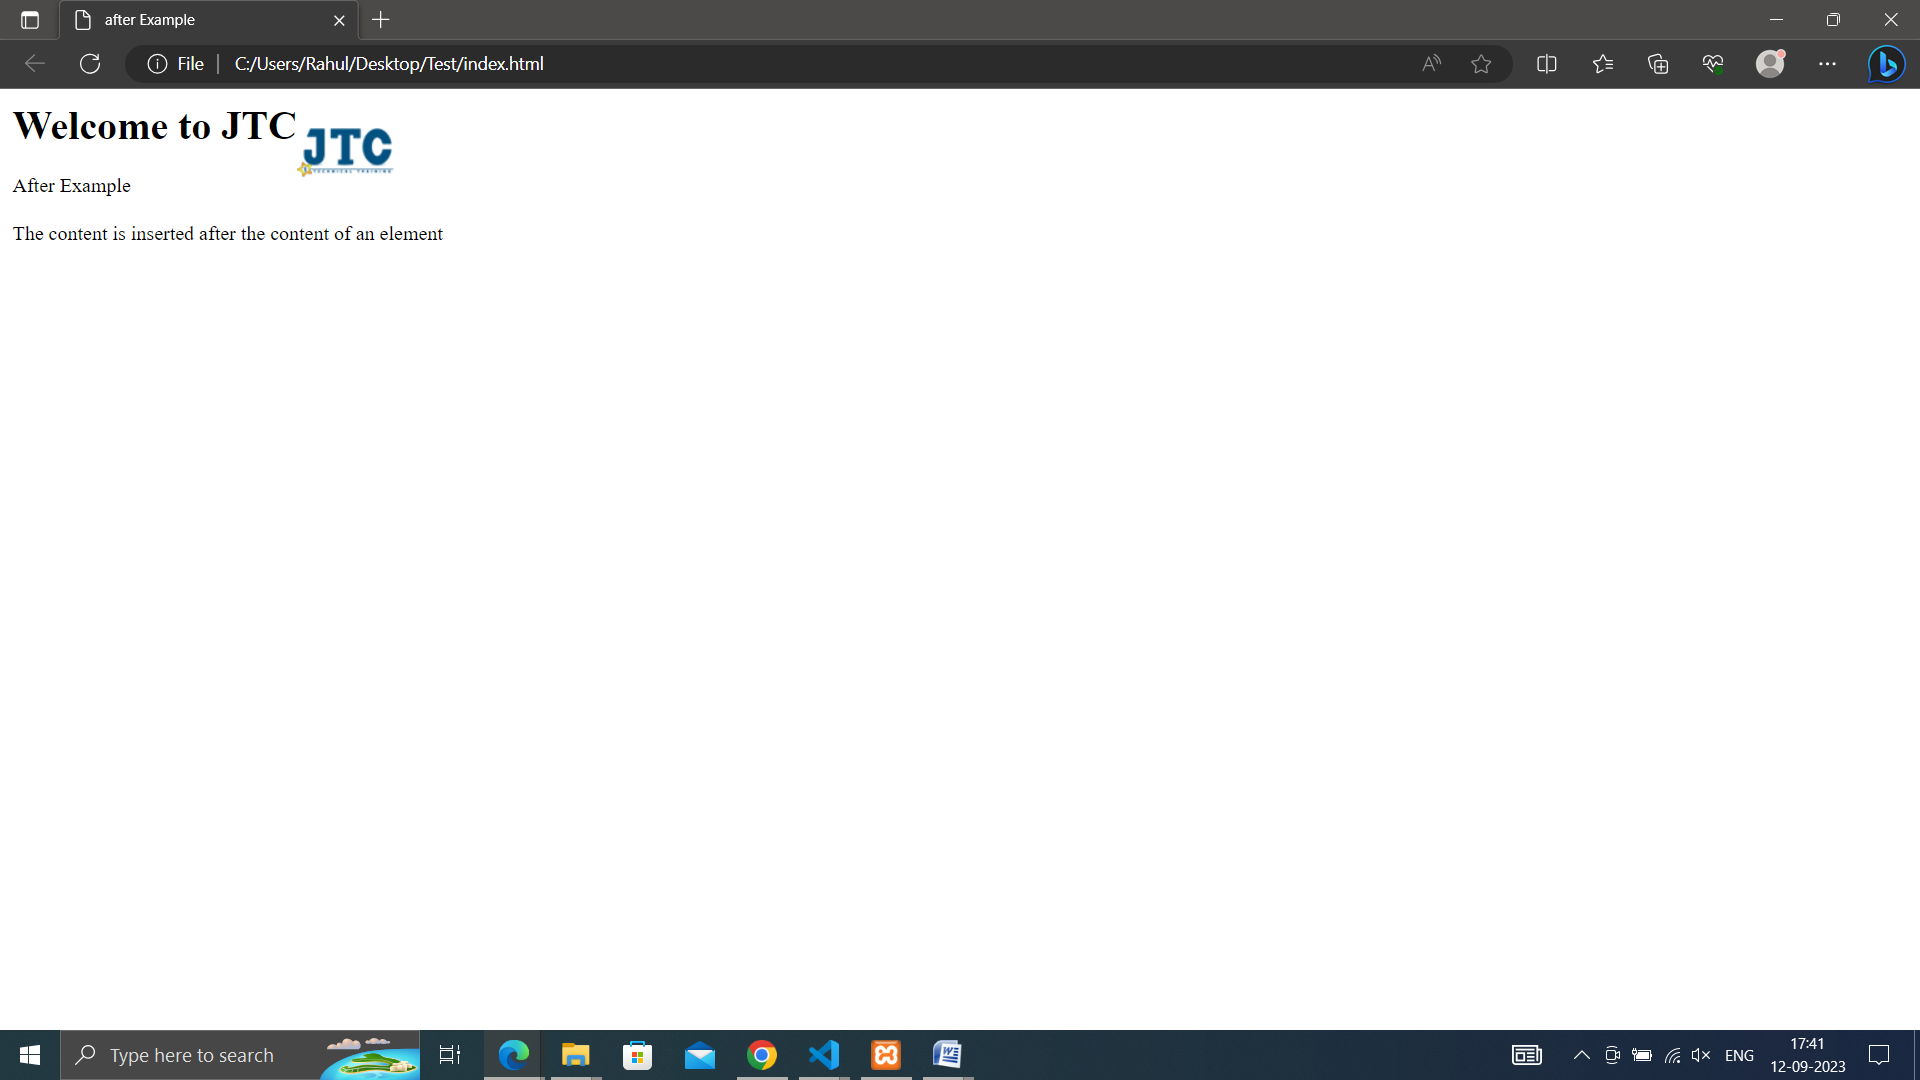
<p>The content is inserted before the content of an element</p>
</body>
</html>
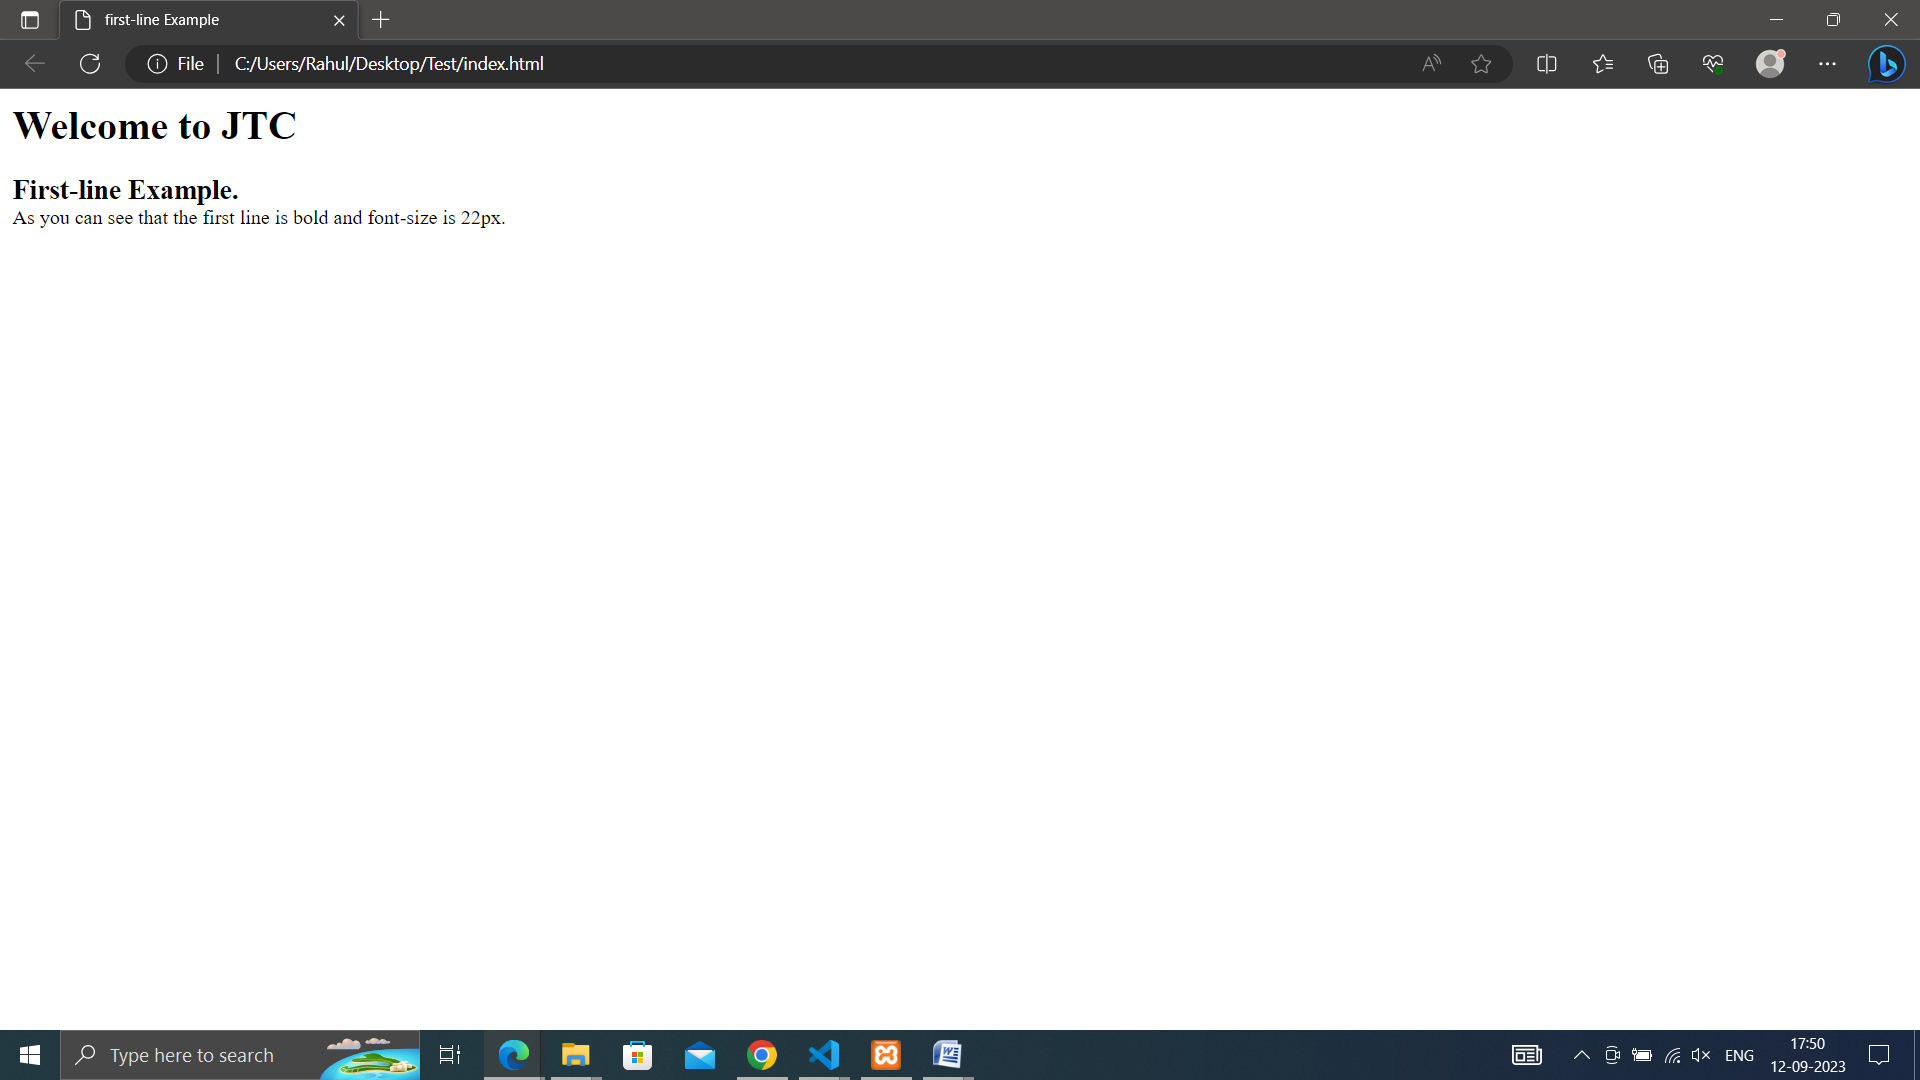
• ::first-line: Targets the first line of a block-level element's content.
<!DOCTYPE html>
<html lang="en">
<head>
  <meta charset="UTF-8">
  <meta name="viewport" content="width=device-width, initial-scale=1.0">
  <link rel="stylesheet" href="style.css">
  <title>First-line Example</title>
</head>
<body>
    <h1>Welcome to JTC</h1>
    <p>First-line Example. <br>
      As you can see that the first line of the paragraph is bold and font-size is 22px.
    </p>
</body>
</html>
*{
    margin: 0;
    padding: 0;
    box-sizing: border-box;
}

h1 , p{
  padding: 10px;
}

p::first-line {
  font-weight: bold; /* Make the first line of paragraphs bold */
  font-size: 22px;   /* set the font-size to 22 of the first line of paragraphs */
}
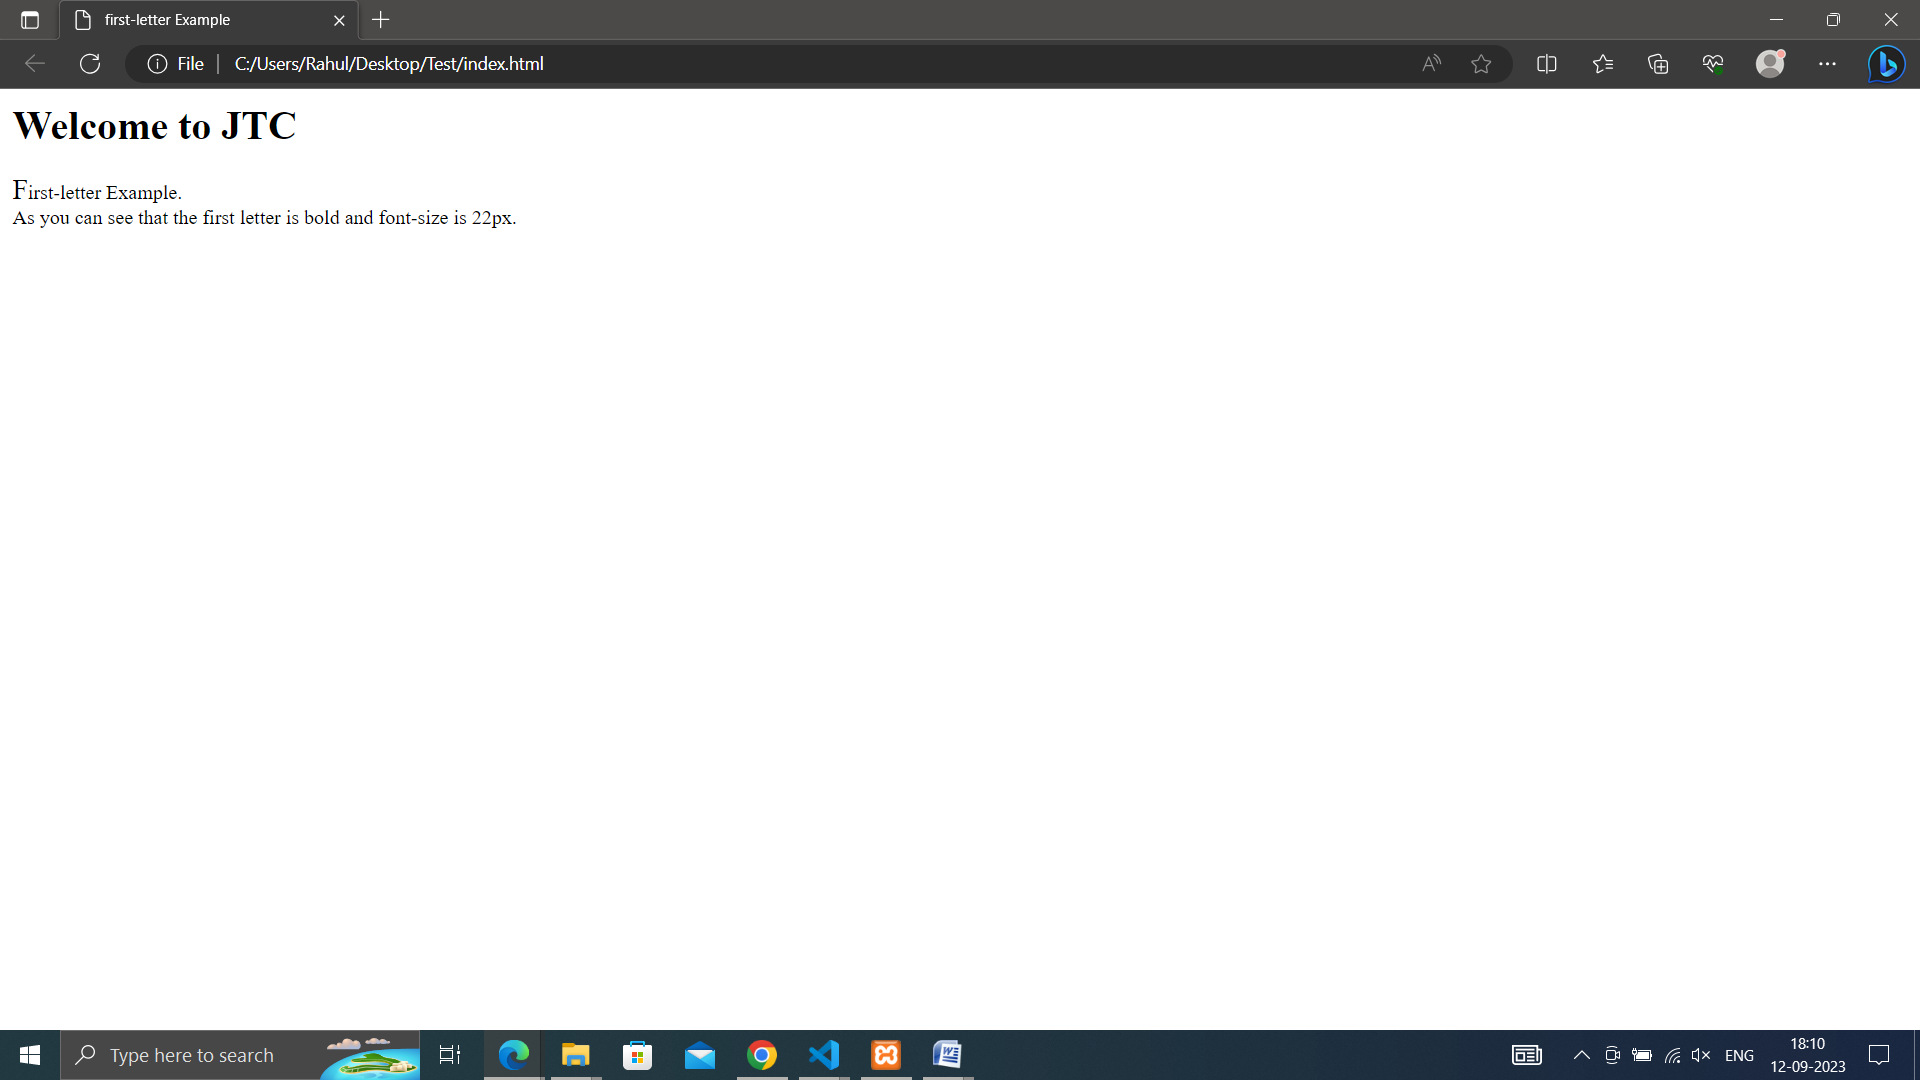
• ::first-letter: Targets the first letter of a block-level element's content.
<!DOCTYPE html>
<html lang="en">
<head>
  <meta charset="UTF-8">
  <meta name="viewport" content="width=device-width, initial-scale=1.0">
  <link rel="stylesheet" href="style.css">
  <title>First-letter Example</title>
</head>
<body>
    <h1>Welcome to JTC</h1>
    <p>First-letter Example. <br>
      As you can see that the first letter of the paragraph is bold and font-size is 22px.
    </p>
</body>
</html>
*{
   margin: 0;
   padding: 0;
   box-sizing: border-box;
}

h1 , p{
   padding: 10px;
}

p::first-letter {
   font-weight: bold; /* Make the first letter of paragraphs bold */
   font-size: 22px; /* Enlarge the first letter of paragraphs */
}
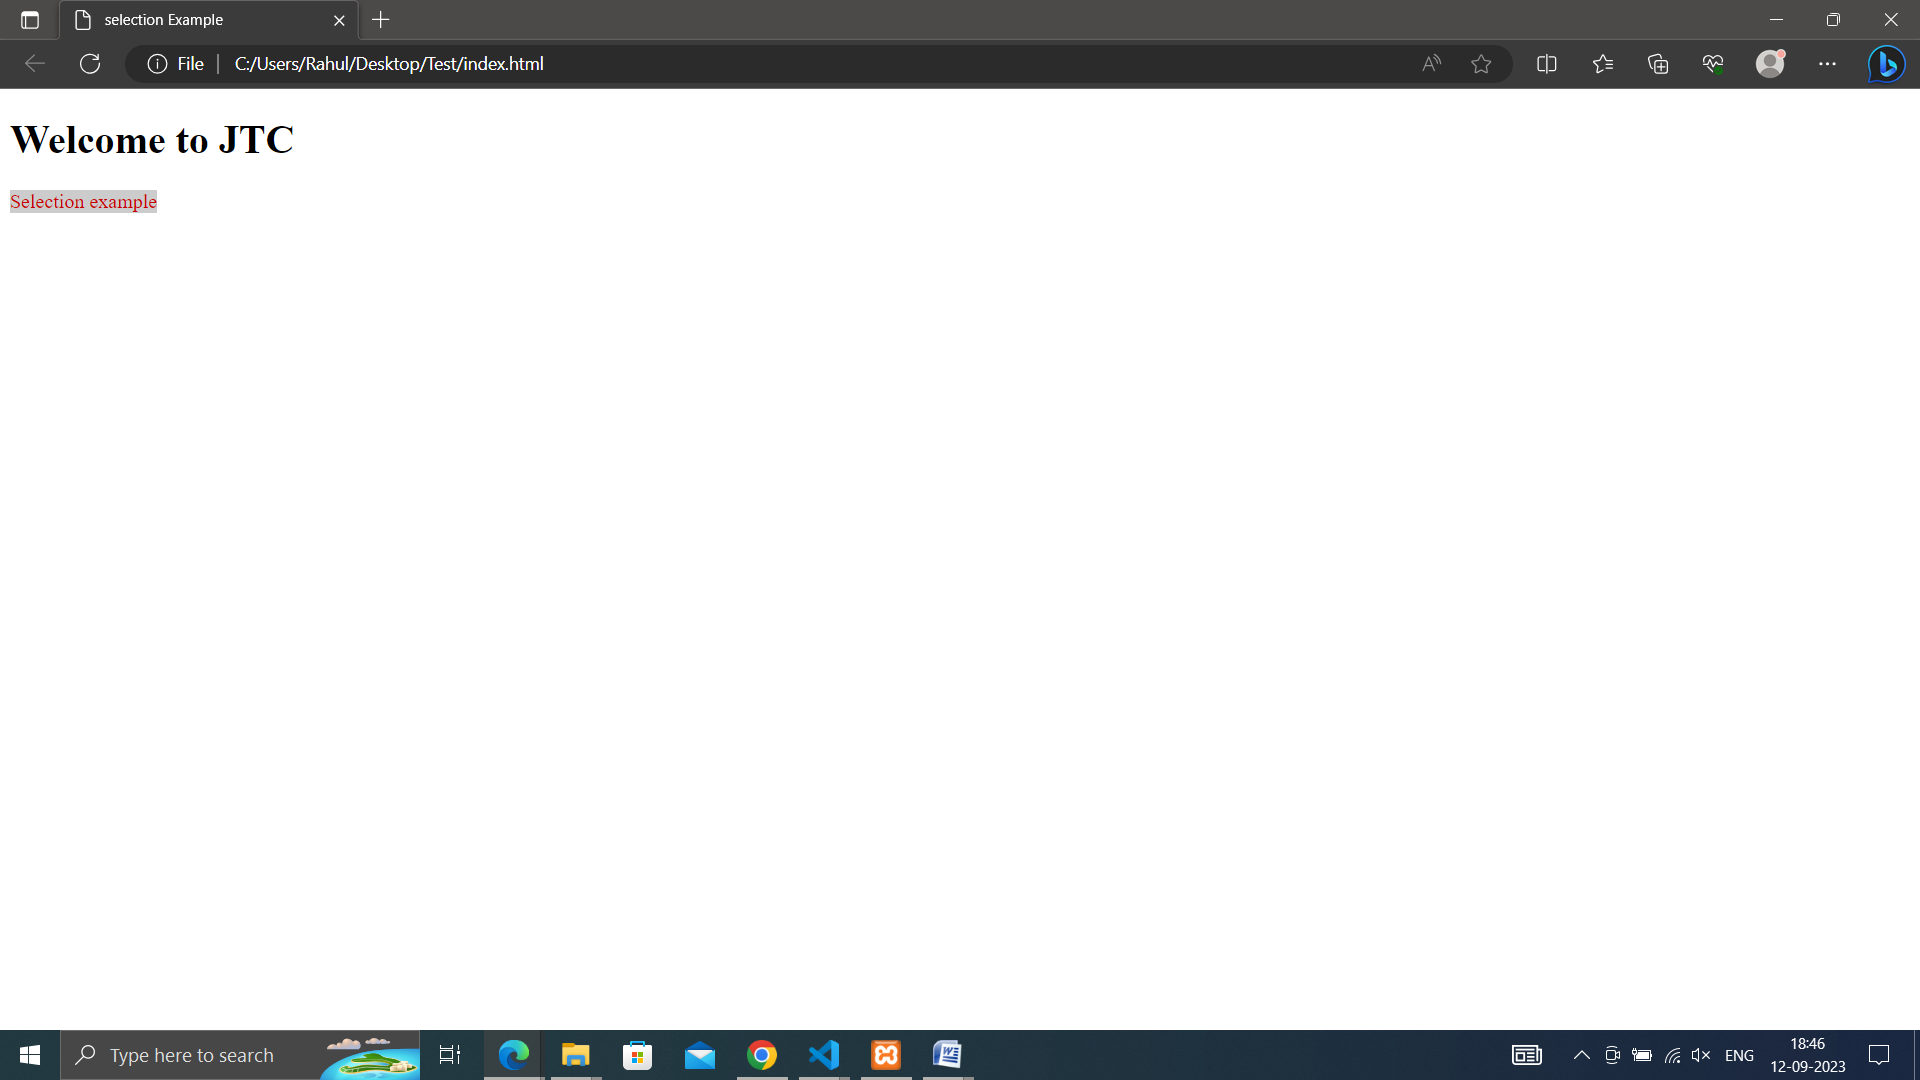
• ::selection: Targets the portion of text selected by the user.
*{
  margin: 0;
  padding: 0;
  box-sizing: border-box;
}

h1 , p{
  padding: 10px;
}

p::selection {
  background-color: #CCC; /* Change the background color of selected text */
  color: rgb(201, 0, 0); /* Change the text color of selected text */
}
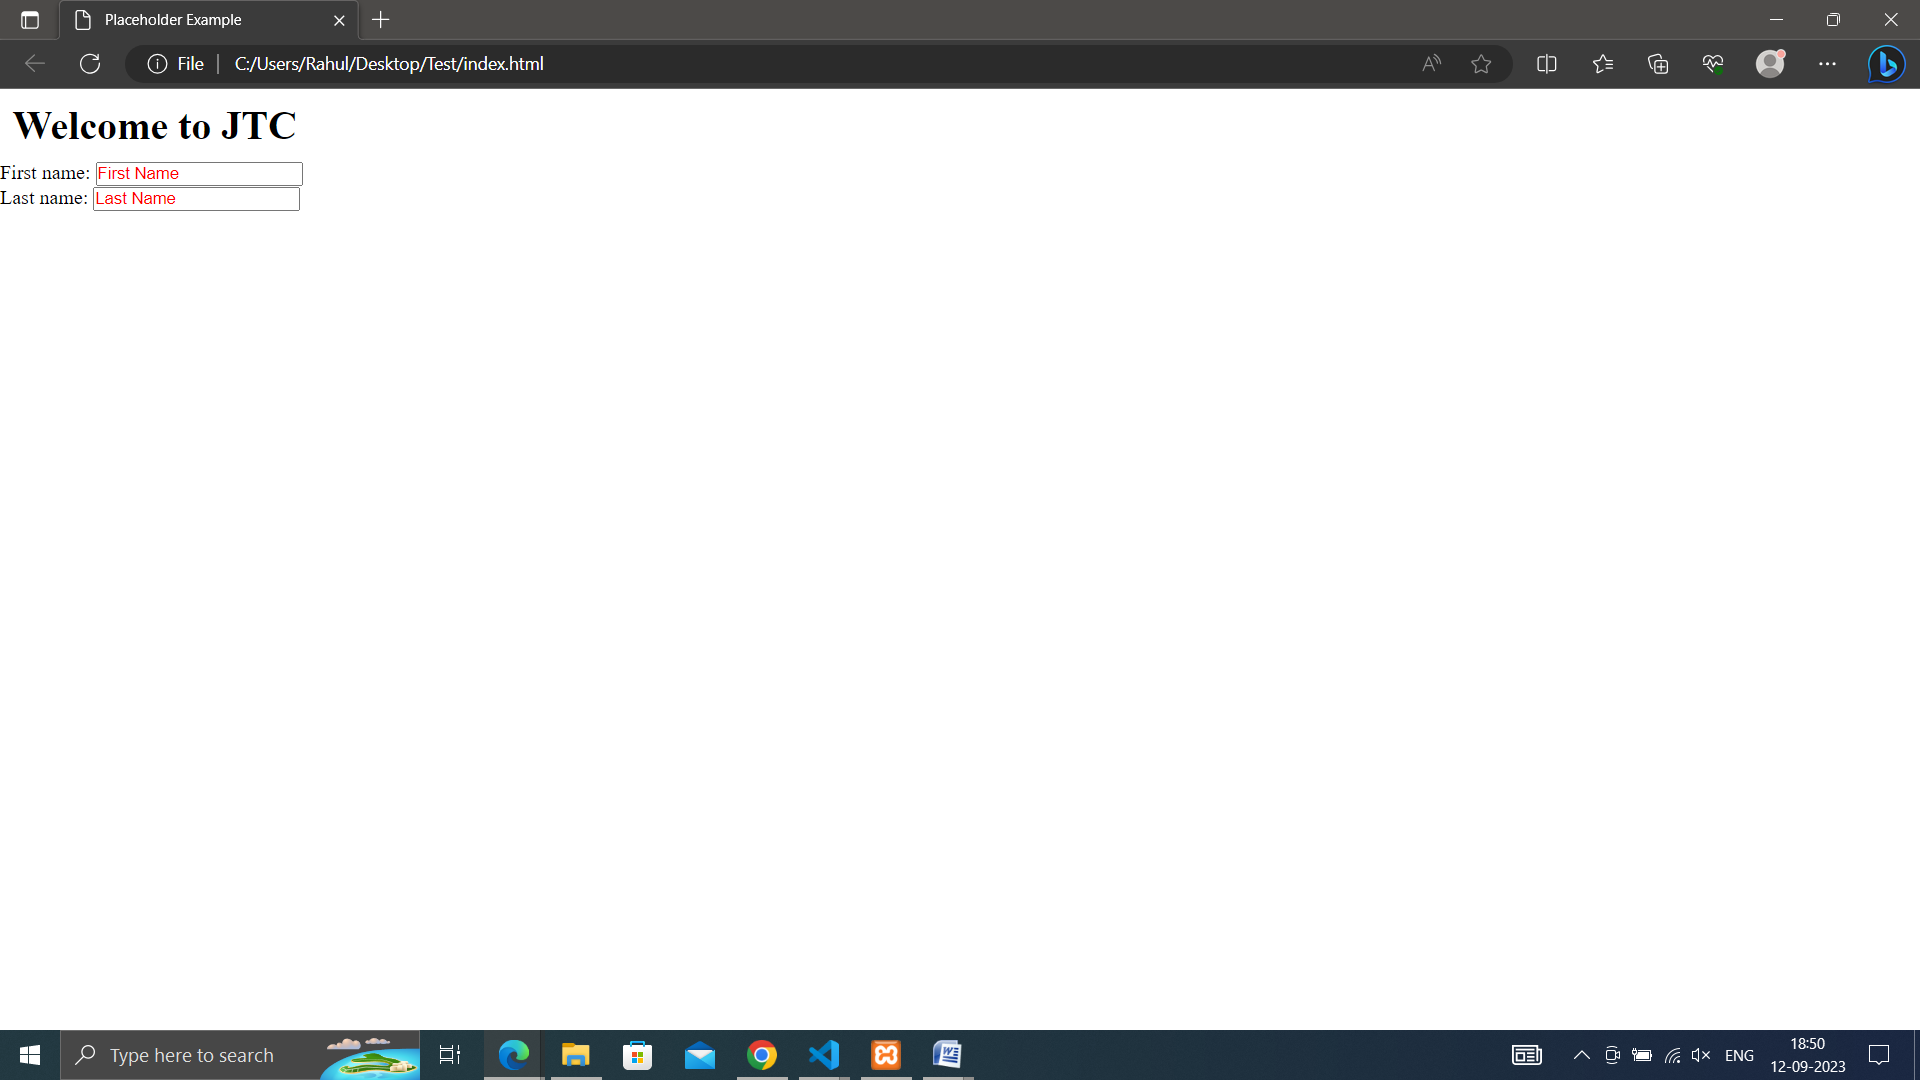
• ::placeholder: Targets the placeholder text in input and textarea elements.
*{
  margin: 0;
  padding: 0;
  box-sizing: border-box;
}

  h1 , p{
  padding: 10px;
}

  input::placeholder {
  color: #ff0000; /* Change the color of placeholder text in input fields */
}
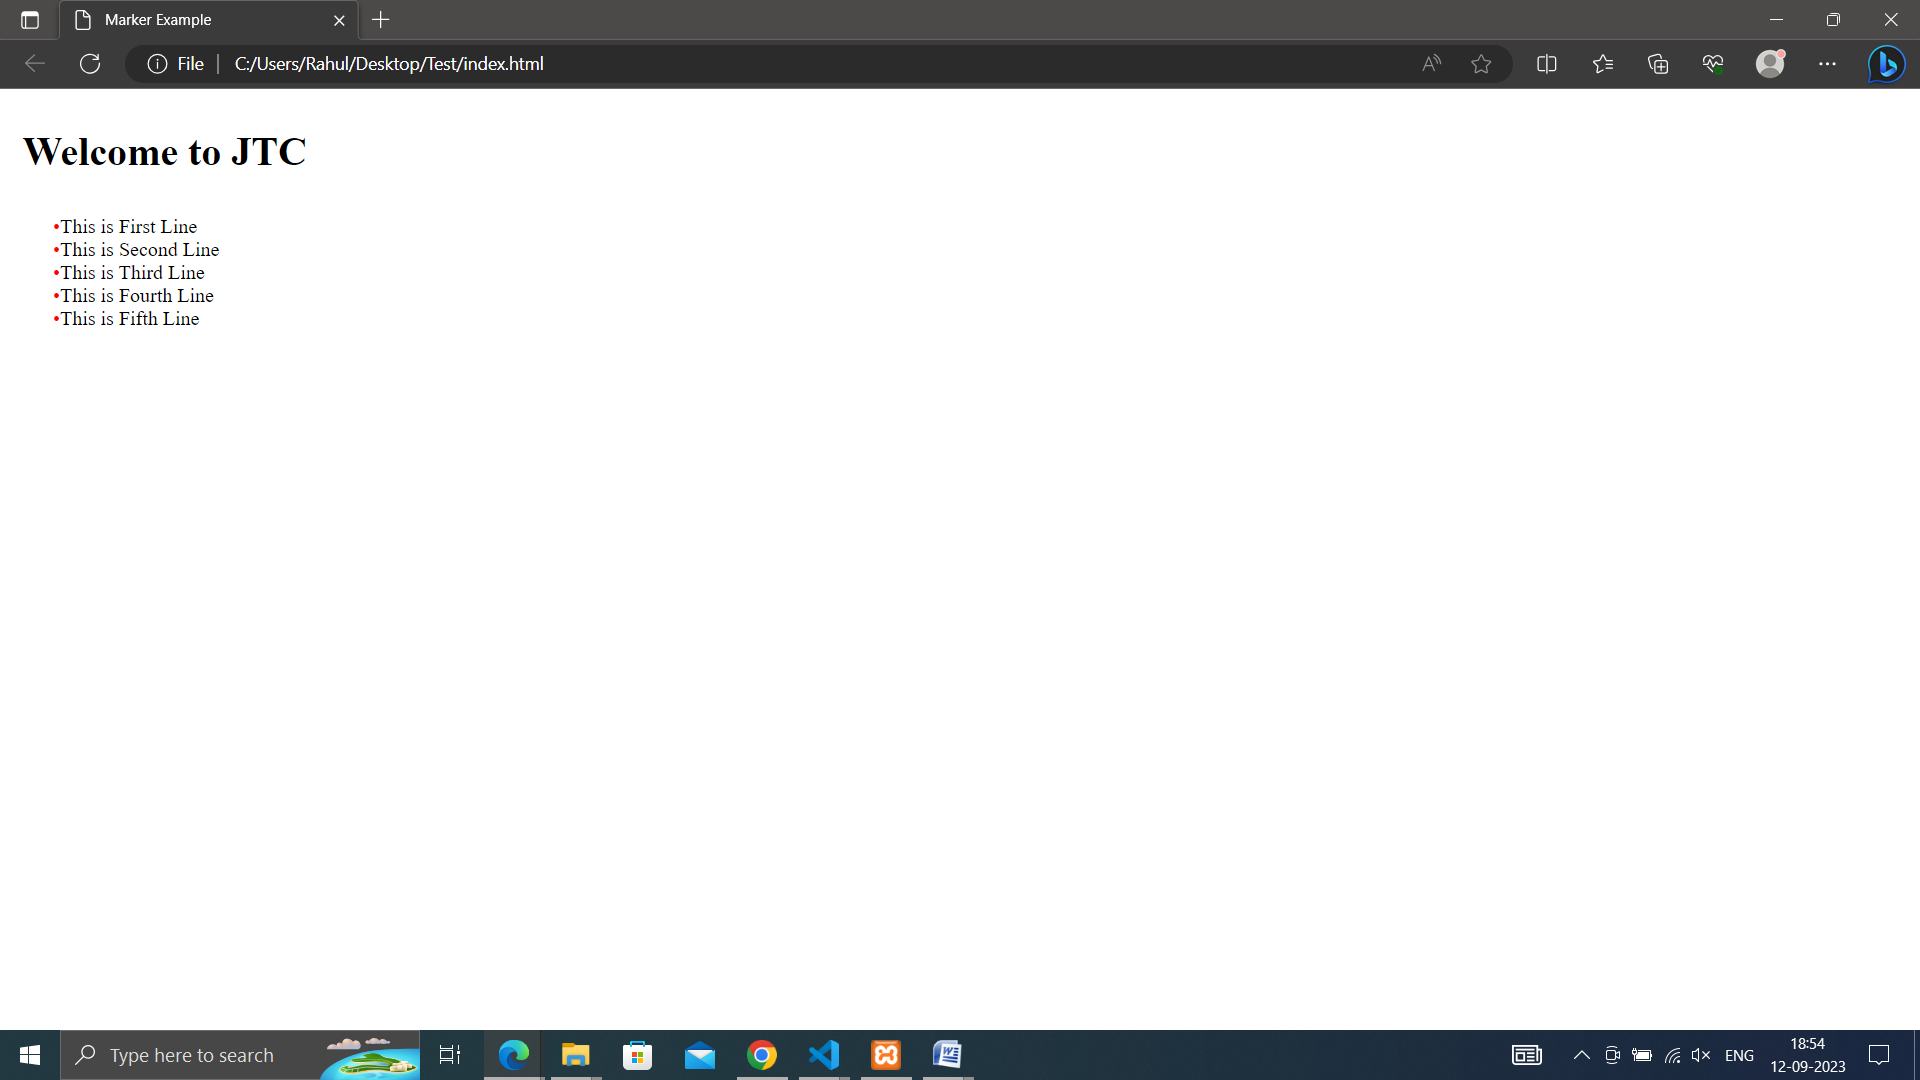
• ::marker: Targets the marker box of a list item in a list.
<!DOCTYPE html>
<html lang="en">
<head>
  <meta charset="UTF-8">
  <meta name="viewport" content="width=device-width, initial-scale=1.0">
  <link rel="stylesheet" href="style.css">
  <title>Marker Example</title>
</head>
<body>
    <h1>Welcome to JTC</h1>
    <ul>
      <li>This is First Line</li>
      <li>This is Second Line</li>
      <li>This is Third Line</li>
      <li>This is Fourth Line</li>
      <li>This is Fifth Line</li>
    </ul>
</body>
</html>
*{
  margin: 0;
  padding: 0;
  box-sizing: border-box;
}

h1 , p{
   padding: 10px;
}

li::marker {
   content: "\2022"; /* Use a bullet point as the list marker */
   color: red;    /* chnages the color of the bullet */
}
We use cookies to enhance your user experience. By continuing using our site, you agree to our use of cookies.